
Homemade Dutch Oven Yogurt

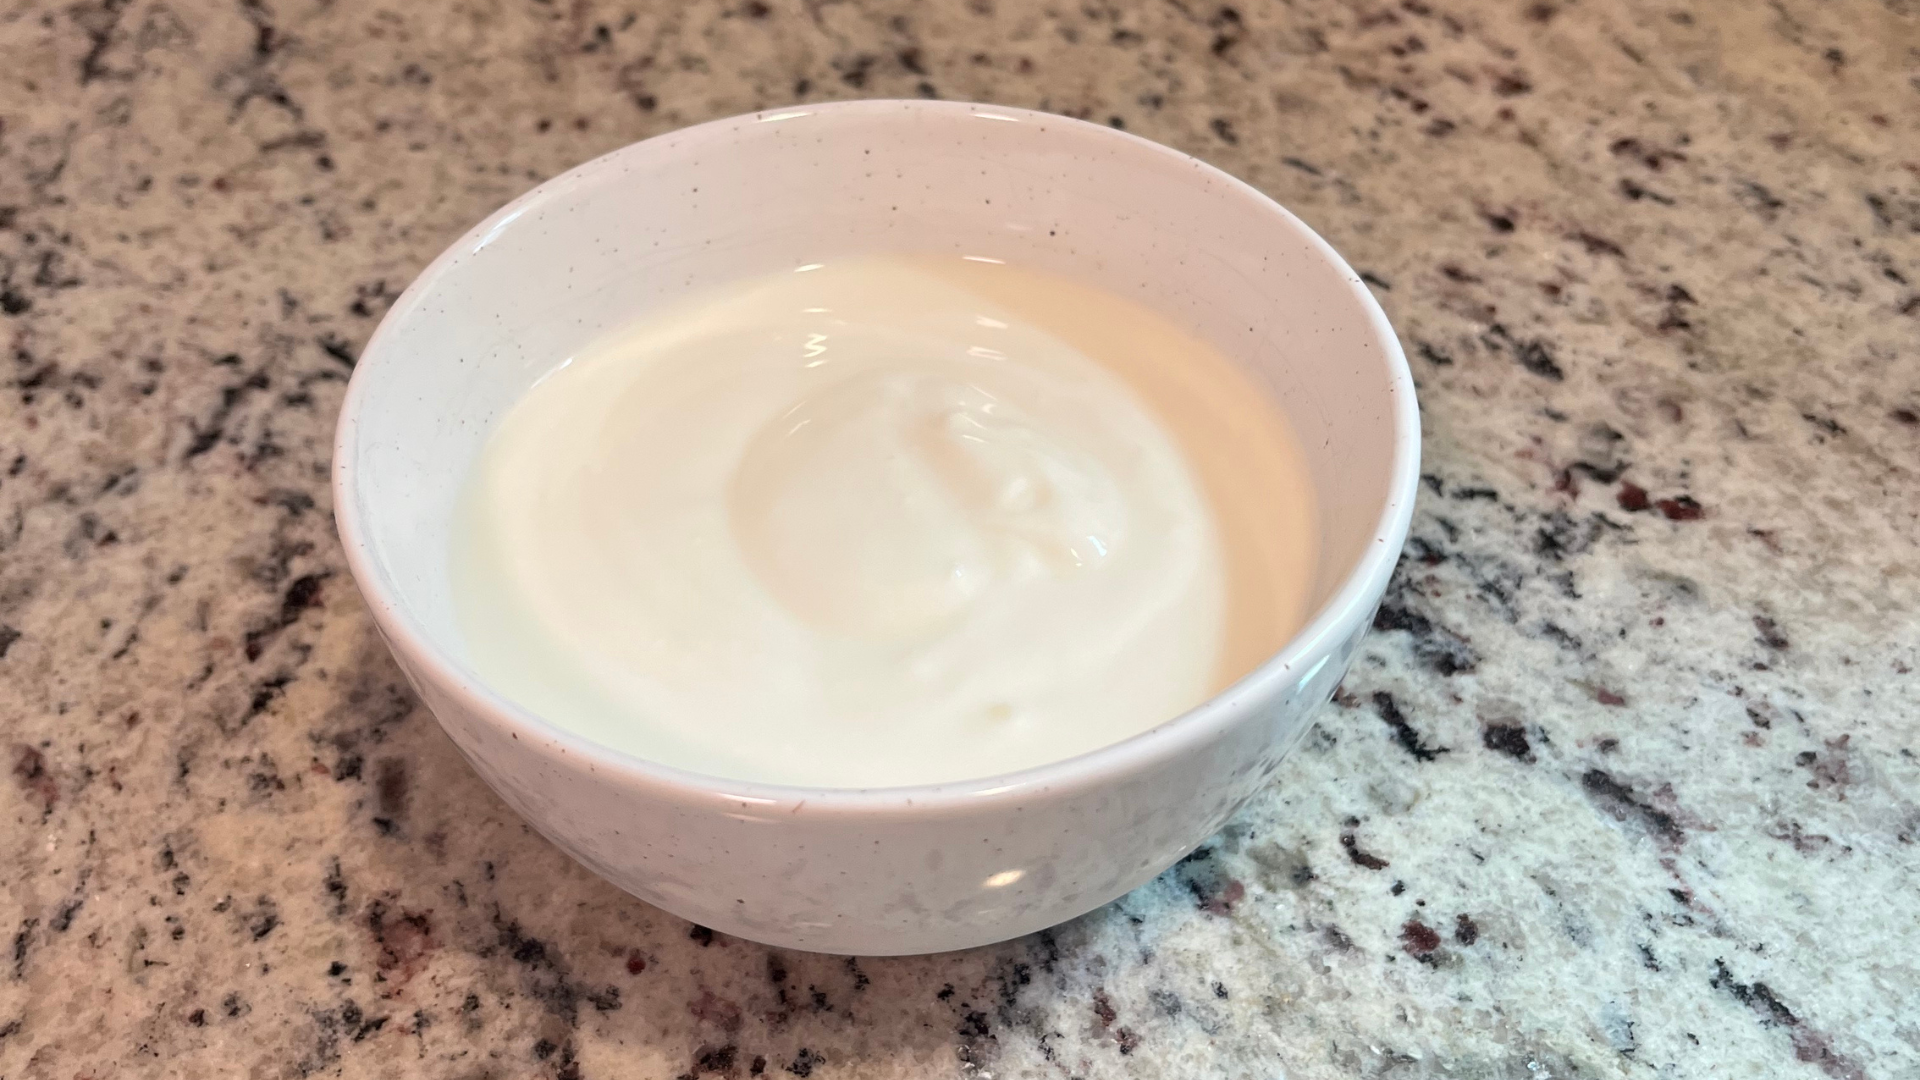
This Homemade Dutch Oven Yogurt turns simple whole milk into thick, creamy yogurt with a smooth texture and fresh tangy flavor. The dutch oven holds warmth well, helping the yogurt culture gently without a yogurt maker or special appliance. Made with milk and live active cultures, this homemade version avoids unnecessary additives, gums, thickeners, and artificial flavors. Once you make the first batch, you can save a small amount to use as the starter for the next batch.
Homemade Dutch Oven Yogurt
Breakfast, Snack, Homemade Dutch Oven Yogurt
4 Cups
2 mins
9 hrs
9 hrs, 2 mins
Equipment
Cast Iron Dutch Oven
Spoon
Measuring Spoons
Clean Towel
Airtight Container
Ingredients
4 Cups of Milk
2 Tablespoons of Yogurt, Plain, with Live Active Cultures, Room Temperature
1 Tablespoon of Maple Syrup or Organic Cane Sugar, Optional for sweetness
1 Teaspoon of Vanilla Extract, Optional for flavor
Instructions
Notes
Tips:
Use plain yogurt with live active cultures
Do not move the pot during incubation
Strain 2 to 4 hours for Greek style yogurt
Reserve plain yogurt before flavoring to start the next batch
Phase:
Follicular Phase- Supports gut health with natural probiotics while offering protein, calcium, and a lighter fermented food that fits higher energy phases.
Season:
All Seasons- Works year round because it pairs well with berries, honey, cinnamon, fruit, granola, smoothies, sauces, or baking.
Storage:
Store yogurt in sealed glass jars in the refrigerator for up to 2 weeks. Reserve 2 tablespoons of plain yogurt before flavoring if using it as the starter for the next batch.